
Cabinet = Part 2
6:56 PM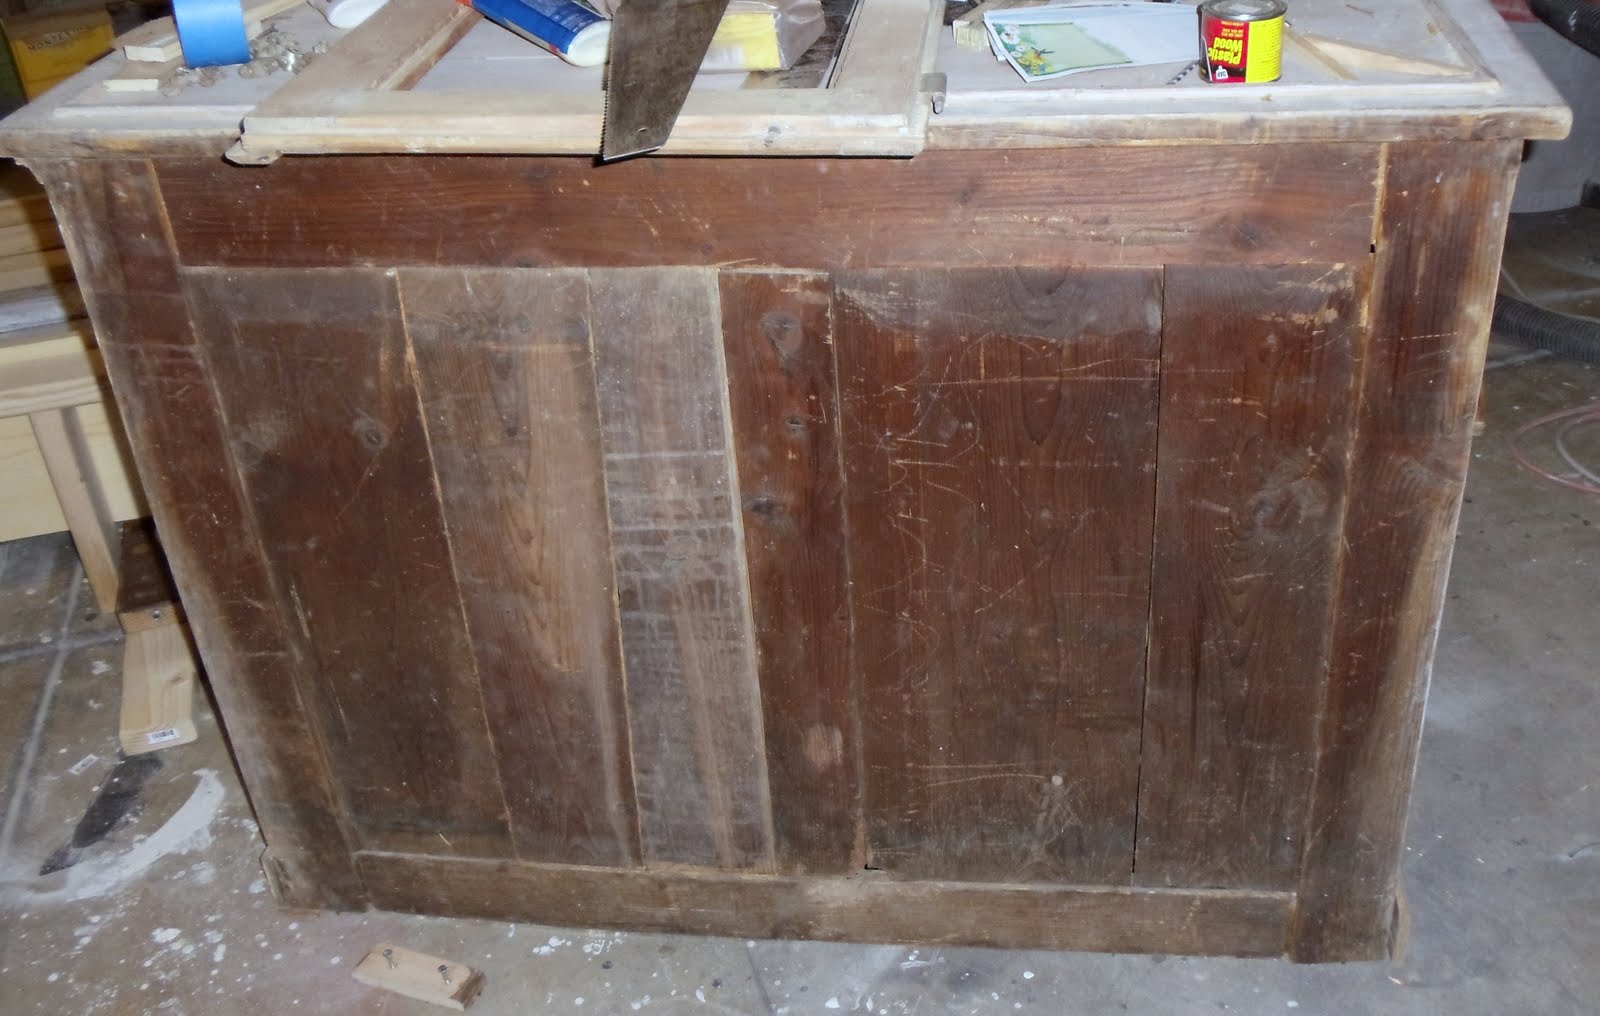 It has been a long week, and here's what we finished so far:
We had to take most of the cabinet apart and removed many large nails and metal plates that had been used in previous repairs. The nails had caused cracks and I didn't want that.
We used the old back from the top (1/2 of a back) and combined it with the existing 1/2 back on the bottom to create a complete back for the bottom.

Then we mounted the bottom of the top back on, and had to use some wood putty on the sides to fix some previous repairs by others. I've left it to dry and get solid for a few days.

The next part is to fix all the trim. For some reason all of the corner trim pieces are missing. The trim is wide/deep that is difficult to recreate so Jimmy took a side piece and we cut the necessary corners out of that piece. It will be easier to mimic the trim on a long side piece rather than the 6 corner pieces we needed.

Next steps: glue/attach all trim pieces, add 4 feet to the bottom (so it won't damage any trim when moved), finish gluing the doors and cutting the door trim, mount all door hinges, repair drawer (I need to get help with the router cuts need for this part), cut the back splash for the cabinet doors, clean, sand, varnish the inside, paint the outside (I''m leaning towards a light blue over yellow gold, which I will then sand almost all off). I think another 2 weeks of labor then 2 - 3 weeks of drying time.


1 comments
Lookin good! Can't wait to see it finished! Guess your up as late as I am tonight :0).
ReplyDelete