
Painting Basics
11:45 AMI have so many of you coming in and just loving the ASCPs that I wanted to make sure I got out some painting basics that you could refer to before starting your project. These are painting basics for any type of painting.
There are lots of ways to paint, and you may discover your own inner creativity and adjust the process. These 'hints' are for those of you who are just starting out painting and just want some confidence you are proceeding along in the right direction.
Painting Basics
1. Clean your item. The point of this exercise isn't just to clean the piece, but to get to know the piece, to identify any imperfections your eye may have ignored, but the cloth (and your hand) won't ignore. This is the point where you have to decide to repair/patch or not. Remember, any perceived imperfection will only be highlighted after painting. So, if you need it to be perfect, sanded, patched, whatever, now is the time to do this.
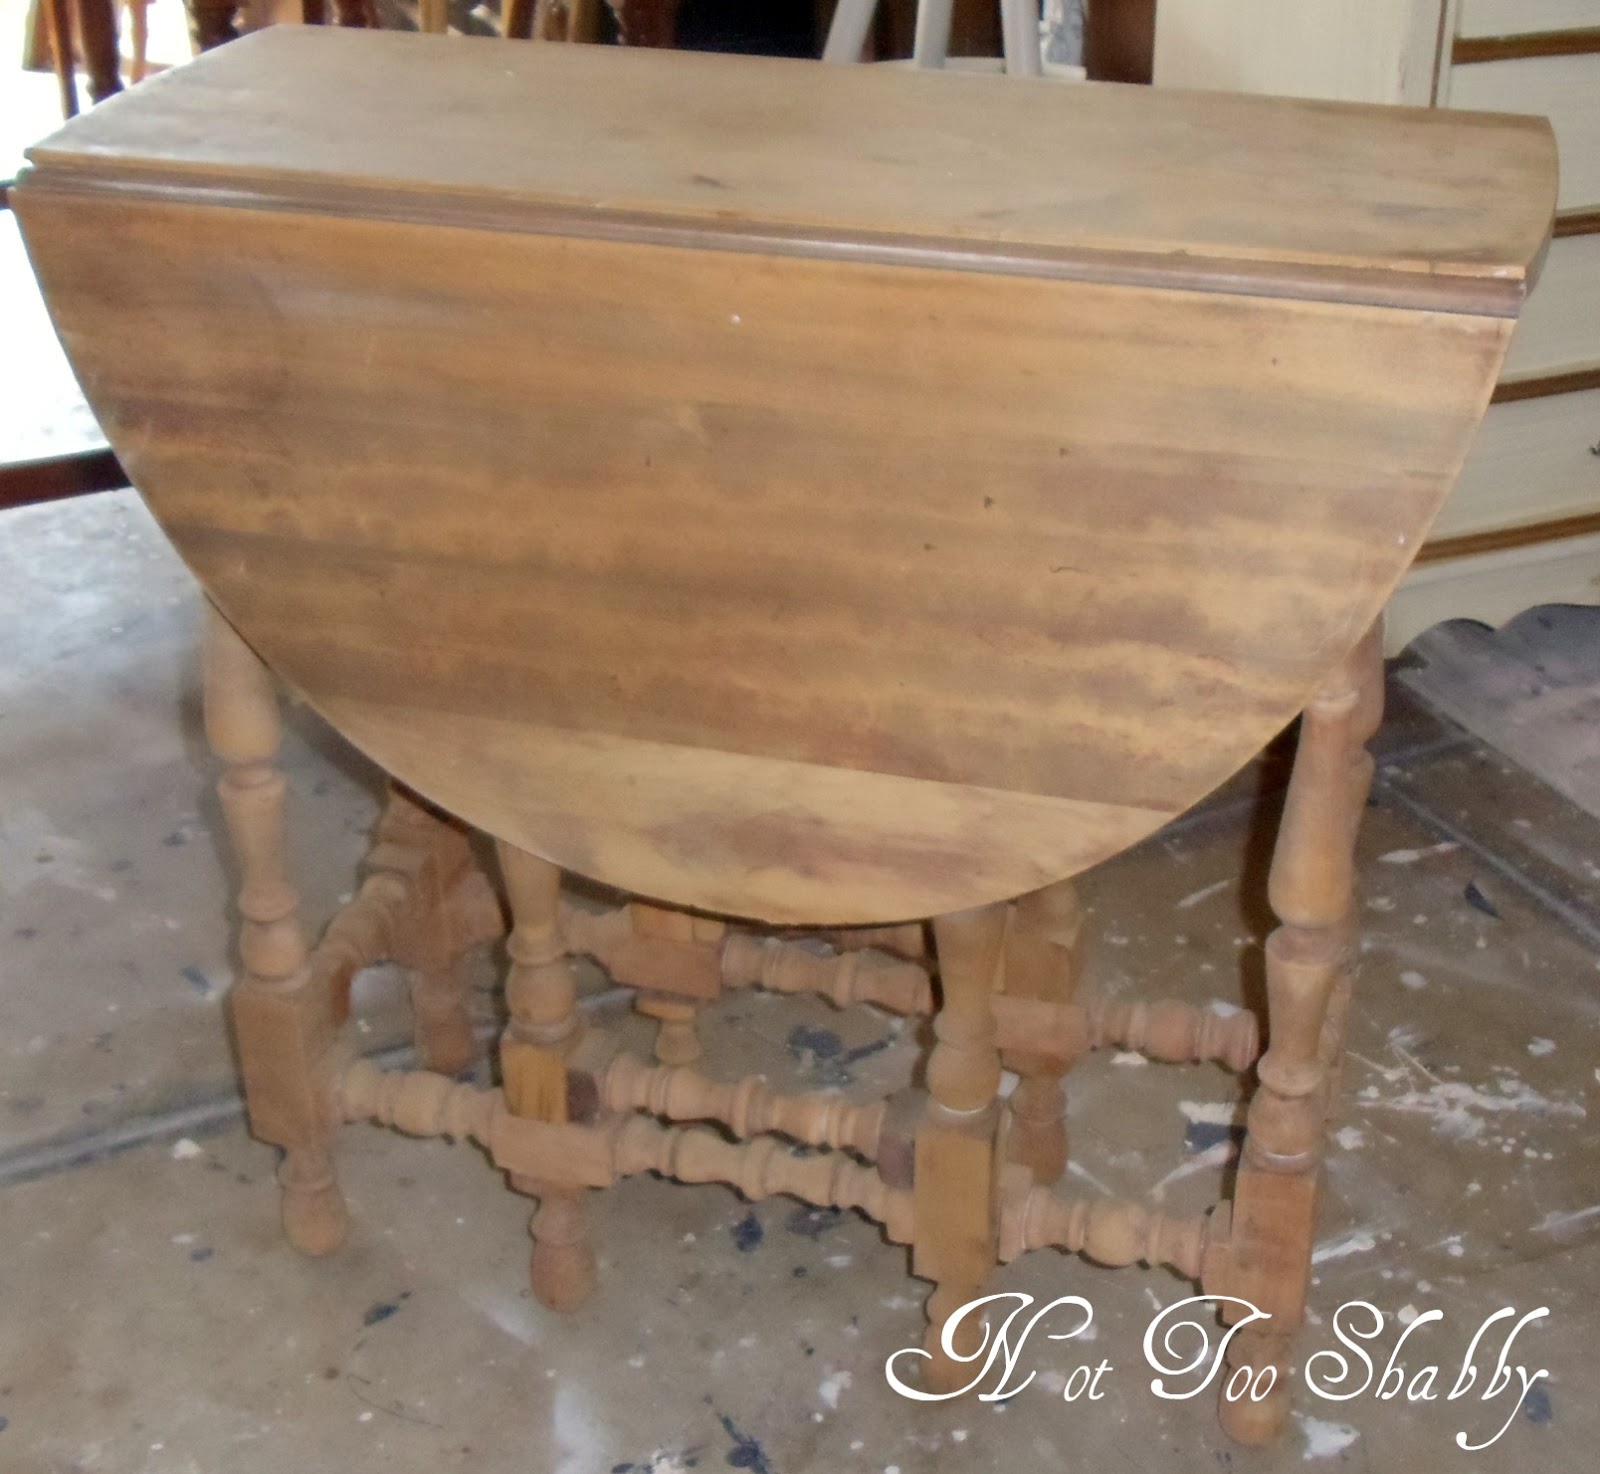
- This pretty gateleg table was already stripped when I bought it, so I thought it would be the perfect candidate for a farmhouse table top effect with the ASCP.

2. Start at the bottom. You always start painting at the base of the item, the feet, legs, or just bottom edge. Sometimes, I lay the piece down, sometimes, I place it on top of table so that it is at a better height for me to paint. If it is a chair, I flip it upside down and start under. You would be surprised at how many times I have wanted to buy a chair and then when look closer, the underside of all the rods is unpainted, or even the turned legs aren't painted all the way around. It is always harder to 'fix' these errors, rather than just doing it right from the beginning.
Another reason you always start at the bottom because once you paint the top, you don't want it to touch the ground. The top of the piece is the most important part so you want to paint it and protect it.
-After cleaning it, I flipped it over to start painting the legs first. That's when I found one of the 'joiner' pieces for the legs was cracked. I then replaced the dowel, glued, and clamped. This is an unusual break, and not noticeable until I had flipped the table over.

3. Do Not Paint out of the can! Pour a small amount of paint into another small clean bucket/container to use on your project. This prevents you from 'contaminating' the can of paint with dirt or other items you may pick up with your brush, accidentally spilling the whole can, and other nefarious things - trust me.
- I applied ASCP Paris Grey, ASCP Old White, clear wax, dark wax. Let it dry, then buffed and applied a second coat of the dark wax.

4. Finish the job! This sounds so basic but so many people start the paint job and then as they progress, they get nervous and stop. This is the worst thing you can do. There are many moments during a project where it doesn't quite look like what I envisioned. But, forcing myself to finish the job, I get it back on track, or am pleasantly surprised by the finished product.
- Final buffing and the table is fantastic, very stable, and ready for the Mes Ami sale in Roseville on Saturday.

Let your creativity speak and have fun!


0 comments